3D art is one of the techniques that makes Magic Pens feel more advanced without making the activity hard to start. Kids do not need formal art training to make something that looks playful and surprising. Once they understand the pattern, they can create simple illusion effects using lines, outlines, and repeated shapes.
The official Magic Pens instructions explain the full 3D method, but many families and teachers also want easier variations they can try right away. These ideas are a good starting point when you want children to practice the effect without getting overwhelmed.
How the 3D marker effect works
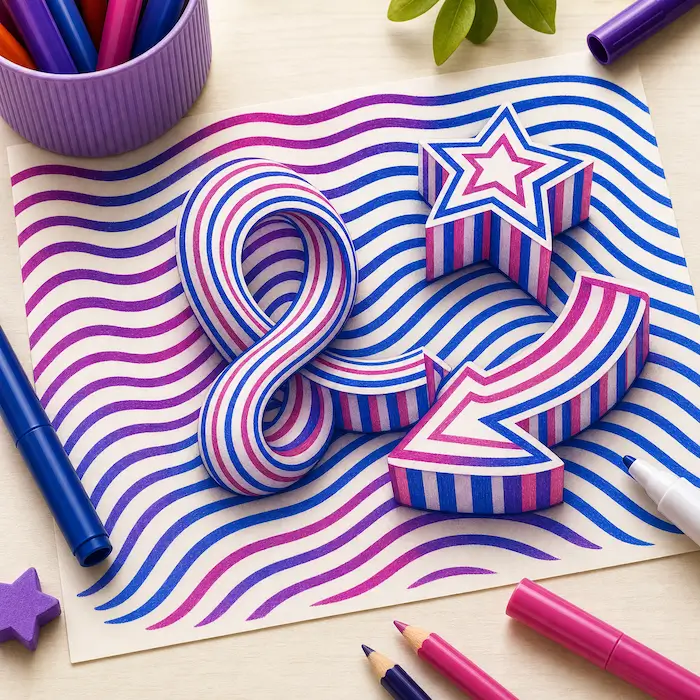
At its simplest, 3D marker art relies on repeated lines, contrast, and outlines that help one shape feel like it is standing out from the page. Magic Pens make this more interesting because the color changes and eraser-style effects add another visual layer. That means kids can work with stripes, curves, words, and bold shapes while still getting a dramatic result.
Simple 3D art ideas for beginners
Pop-out names
Write a child's name in large letters, then build repeating lines around it. This is a great beginner project because the word is already familiar and the line work can stay simple.
Pattern tunnels
Draw a shape in the center of the paper, then fill the surrounding area with repeated curves or spirals. Kids often enjoy this because the pattern feels relaxing while still creating a dramatic finished piece.
Striped shapes
Alternate straight lines across a circle, star, or block letter. Once the shape is outlined, the repeated stripes help make it feel more dimensional.
Word art banners
Create a bold word like “WOW,” “ART,” or “MAGIC” and then use repeated lines, waves, or spirals to build the illusion behind it. This works especially well for classroom displays or bedroom art.
Optical doodle panels
Divide a sheet into smaller squares and give each one a different pattern style. This turns one page into several mini experiments and helps kids test what looks best.
How to teach 3D art without making it feel complicated
- Start with one shape and one background pattern instead of a full-page design.
- Show kids how repetition matters more than perfection.
- Use thicker outlines first so the central shape stands out clearly.
- Let children practice on scrap paper before moving to a final version.
Common mistakes to avoid
The most common issue is trying to do too much detail too early. If kids fill the page with many small elements, the illusion can get lost. Another issue is inconsistent line spacing. The good news is that neither problem ruins the fun. Simpler shapes, larger lettering, and steadier repeated patterns usually create a stronger effect.
It also helps to keep the original instruction sheet nearby so children can see how the technique builds step by step. That is why the instructions page is one of the most useful companion resources to the kit itself.
Why 3D marker projects work well for older kids too
Color change and secret messages are often the fastest wins for younger children, but the 3D effect gives older kids something they can keep exploring. It feels a little more advanced, which makes the same kit stay interesting longer. That matters for families who want more reuse from a gift and for classrooms that need multiple ways to use one product.
If you want to turn everyday drawing time into something kids want to show off, browse the Magic Pens shop and keep the how-to guide bookmarked for the next art session.
Ready to try it?
Bring these ideas to life with the Magic Pens kit
Shop the washable color-changing marker kit, then use the instruction guide to start creating hidden messages, reveal drawings, and 3D art at home or in the classroom.