Magic White Pens
The white pen is the activator used throughout the instruction sheet to reveal hidden writing, change color, erase marks, and help build the 3D effect.
Step-by-Step Guide
Read how to use Magic Pens for color changes, eraser effects, secret messages, 3D art, airbrush play, and stencil fun in one easy guide.
Pen Guide
The original sheet starts by showing the three core pens. Once kids know which number belongs to which pen, the rest of the Magic Pens guide becomes much easier to follow.
The white pen is the activator used throughout the instruction sheet to reveal hidden writing, change color, erase marks, and help build the 3D effect.
Use the color change pen first, then go over it with the white pen (#1) when you want the artwork to shift into a new color.
Use the eraser pen first, then go over it with the white pen (#1) when you want the marks to disappear or help build a new effect.
Page 1
These are the first three effects shown on the printed instruction sheet and they all rely on using the white pen (#1) over marks made with the other pens.
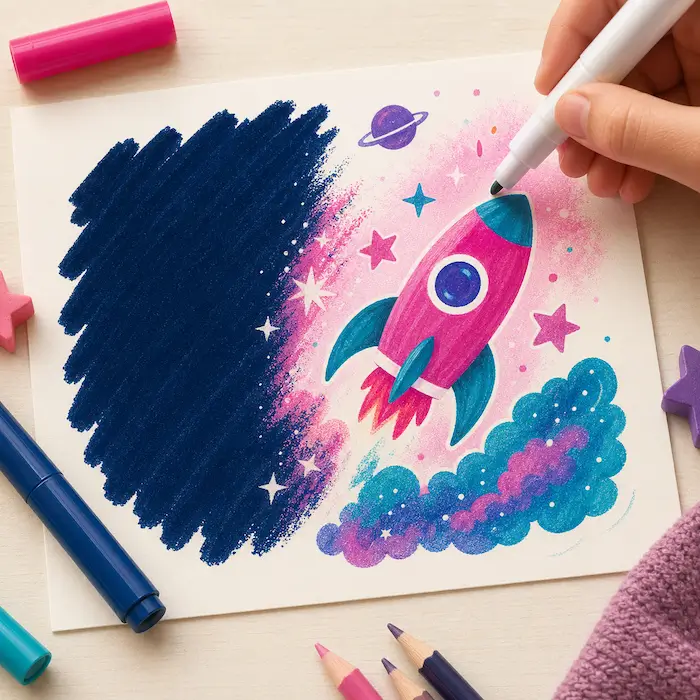 Image A
Choose a color change pen (#2) and simply draw or write anything of your choice and go over it with a white pen (#1). Watch it change color! (See Image A)
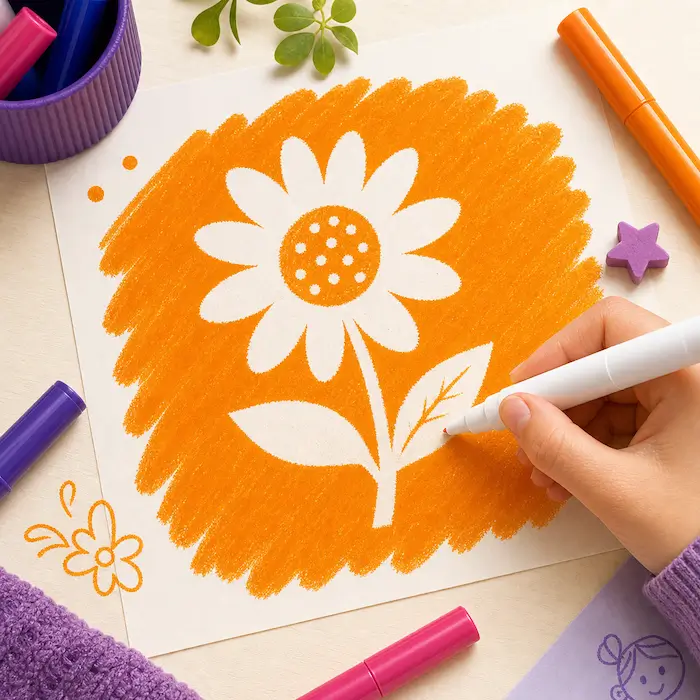 Image B
Choose an eraser pen (#3). Draw or write anything of your choice and go over it with the white pen (#1). Watch it disappear! (See Image B)
 Image C
Use a white pen (#1) and write a secret message. To decode, just go over the written message with any color Magic Pen! (#2 or #3). Watch your secret message appear! (See Image C)
Page 2
The second page adds the 3D effect and then explains the two bonus extras included in the pack: the Magic Blow Pen and the Stencils.
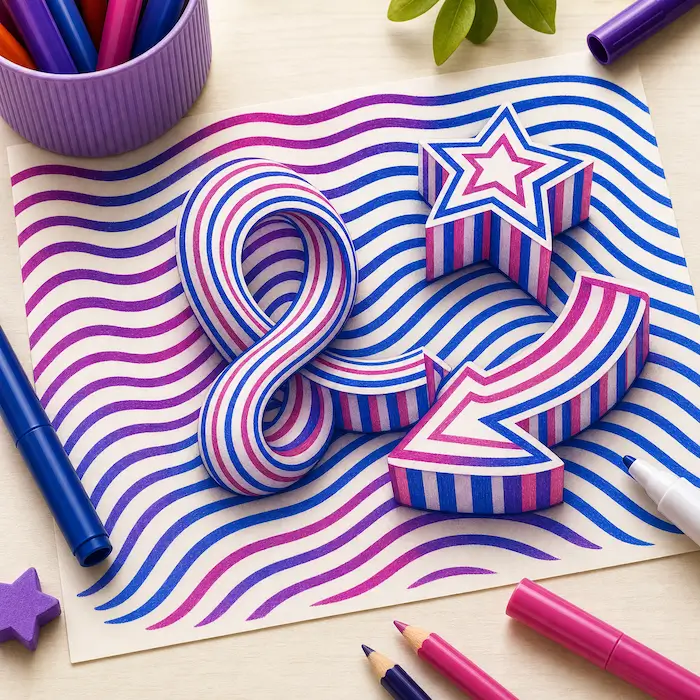 Image D
Use the color change (#2) and the color to white pens (#3) to create the illusion of your very own 3D art! (See Image D)
 Image E
Unscrew plastic bolt on the thicker tubing, loosening enough to slide a Magic Pen into your magic blow pen. The Magic Pen tip should be in front of the narrow end of the pen shaped tube. (See Image E)
NOTE: While using blow pen, be sure to only aim the nozzle toward your artwork. DO NOT aim at people or fabric. Protect surrounding work area from spray.
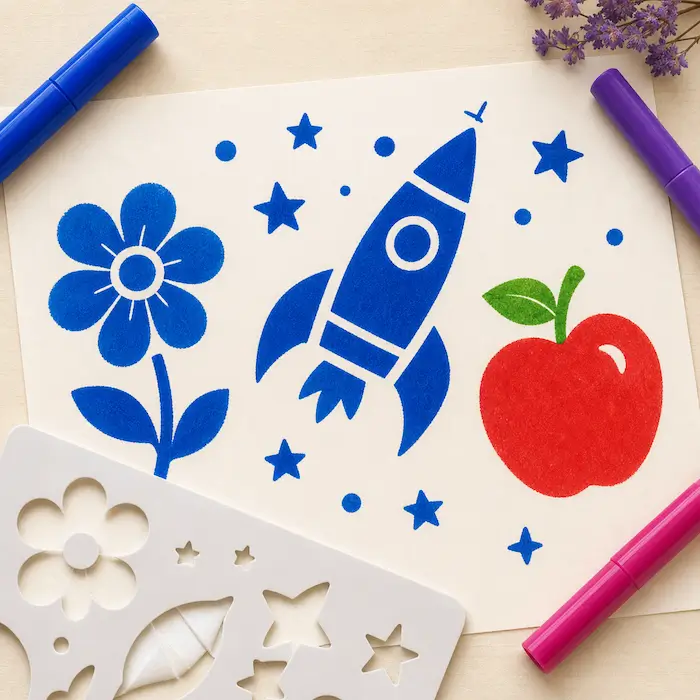 Image F
(See Image F)
Important Notes
The bottom of the original sheet includes the age warning plus care instructions for cleanup and surface safety.
Eraser pen marks can be removed from most surfaces by using the magic white pen. Color change pen marks can be removed from most surfaces by using rubbing alcohol.
Magic Pens contain colorants which may stain. Keep away from wallpaper, painted walls, finished and unfinished wood, vinyl, carpeting and other material that cannot be laundered.
If anything on the instruction sheet feels unclear, reach out and we can help you get started faster.
Need more project inspiration? Browse our creative ideas and tutorials.